
Six makeshift shelters that you can build on the fly
Tuesday, February 23, 2016 by usafeaturesmedia
http://www.bugout.news/2016-02-23-six-makeshift-shelters-that-you-can-build-on-the-fly.html
(Bugout.news) Whether the stuff has hit the fan and you are enroute to your bugout location or you’re hunting and bad weather rolls up on you quickly, having the ability to quickly build a makeshift shelter could be extremely valuable to your survival.
What’s more, not all of these shelters will require a lot of tools or even much labor. Depending on which one you choose, though, you’ll have a fairly dry shelter that can withstand the elements and protect your for at least the night. Shelter will be your top priority in most any survival emergency.
1. The round lodge: A noted favorite in many cultures throughout history, these are part teepee, part wicki-up, but they are ideal for protecting you against the elements. Also, as you see from the photo below, this type of shelter features a smoke hole at the top so if need be you can have a small fire to cook with or to keep you warmer. This one takes a bit of time and some tools, but it’s worth it, particularly if you might be staying put for a few days.

Image: Outdoor Life
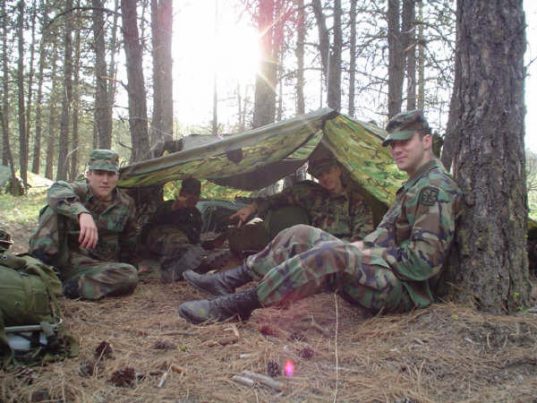
2. The poncho tent: Military ponchos have a lot of uses and one of them is to serve as shelter in an emergency. If you’ve got one – or any rubberized, waterproofed poncho – you will have the means to build a quick shelter to keep the wind and elements away from you. All you’ll need is some paracord and a knife and your poncho, and you’re in business.

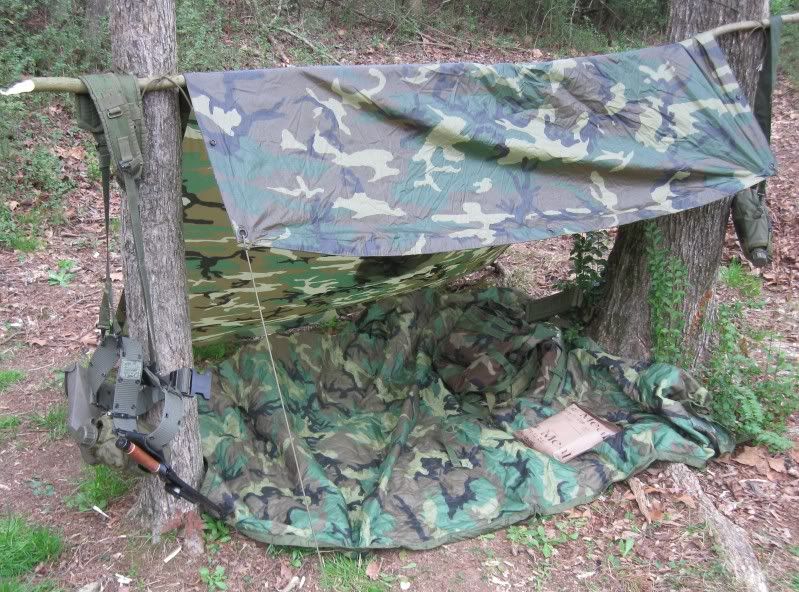
3. The lean-to: If you’ve got a poncho or even just a tarp, you can construct a quick lean-to structure that will both keep you protected from the elements and enable you to start a fire nearby. No tented, non-vented roof to keep the smoke in. Again, just a tarp or poncho, some paracord and a knife is all you’ll need.
4. The tarp burrito: This is about as low-tech as it gets, but you can set it up in about a half a minute and it will definitely protect you from the elements. As you can see from the photo below, lay your tarp out, then fold one side about a third of the way over; fold again in the same direction. What you’ve got now is a tarp roll with the seam underneath. Then tuck one end of the tarp under itself, to close that end off, and stick your sleeping bag down the open end. Just know that you’re not going to get much protection from the ground if the weather’s cold; also, you’re liable to get some dew buildup or even frost inside by morning. Tip: Put down a layer of leaves for extra protection.

Image: Outdoor Life
5. Tarp/poncho teepee: Use your knife to cut and trim some fairly stout branches, interlock them at one end with rope or paracord, spread the branches out in a circular fashion and pull your tarp or other covering into place, fixing it into place with paracord. Size the framework so that the tarp covers it completely.

Image: Outdoor Life
6. The body heat branch shelter: These won’t work in the winter because most trees lose their leaves in the fall, but in spring and summer they can work very well to help retain body heat and protect you from the elements. This can take a bit of time to construct so start well before sundown. But it will certainly prove its worth by offering great protection from the elements. Also, the branches serve as camouflage for your position.

Bugout.news is part of the USA Features Media network of sites.
