Check out these practical emergency uses for soda cans
Wednesday, March 02, 2016 by usafeaturesmedia
http://www.bugout.news/2016-03-02-check-out-these-practical-emergency-uses-for-soda-cans.html

(Bugout.news) They’re everywhere, and for once, that will be a good thing when you need to use everything around you to survive.
Soda cans – “pop” cans if you’re from up north – have scores of uses and, in many cases re-uses. They are fantastic free resources.
Light/reflector
With your field knife, cut a slit in your can starting about 1 inch from the top and ending about a half-inch from the bottom. Then, like you’re cutting an “I,” cut about 2 inches on either side of the slit, top and bottom. Open the “wings” – from the center slit out – and fold them backwards, opening the can up. From there you can take a small tea light, which come dozens in a pack for very little money, light it and then set it inside the can. You can use this for a small light inside a tent or a reflector light at night.
For extra handiness, you can use the tab on top as a hanging loop and actually hang it in your tent.
Can torch
These can be used for light, a little warmth or even for a small cooking job.
Take one paper towel and roll it up good and tight, length-wise. You want to stick it down inside your soda can so you’ll probably have to cut the paper towel to fit inside the can; this “wick” should stick out of the top of the can about one-half to three-quarters of an inch.
Before inserting inside the can, dip the wick in some cooking oil or olive oil, soaking the entire length of the wick in oil (use your fingers to strain off excess oil).
Next, pour the oil into the can, filling the can about halfway. Drop the wick inside the can and keep inserting it until it reaches the bottom. Then, simply light the portion of the wick sticking out of the top of the can, and viola, you have a small torch that will burn for quite some time.
Can stove
This cheap “stove” will come in so handy for cooking, boiling water and any number of other things you won’t believe it. See the short video below [H/T: FixItSamo]
Emergency whistle
Cut a strip of can about 4 inches long. Once you have your strip, you’re going to want to make two pieces; the first piece is about 2 inches long by three-quarters of an inch wide, and the second piece is about 1 ¼ inches long by ½ inch.
Take your smaller piece and place it astraddle one end of your larger piece, leaving a small tab at the top. Bend the two “ears” on the side back around the larger piece. Next, bend the small tab back as well, so that it lays on top of the ears.
Turn the device over and take a small knife, then open up the seam in between the layers of aluminum [be careful not to cut yourself!]. Work the blade into the seam to widen it.
Then, bend the other end down to a 90 degree angle, then bend it back the other way so that it curves around and touches the end where you’ve made the seam. You’ll have to practice closing off the sides with your fingers while holding the curved portion in place, but once you get that down pat, you put the seamed end up to your lips and blow; your emergency whistle is complete.
Emergency signal/fire starter
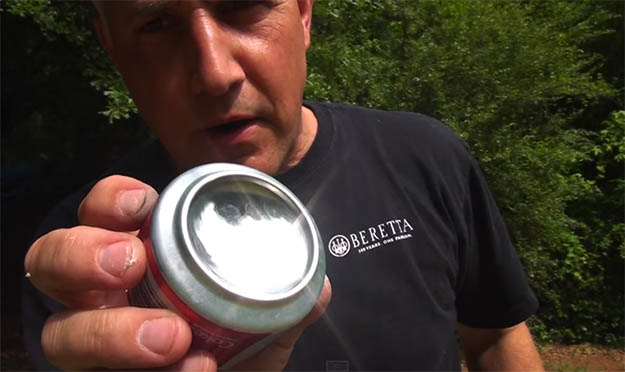
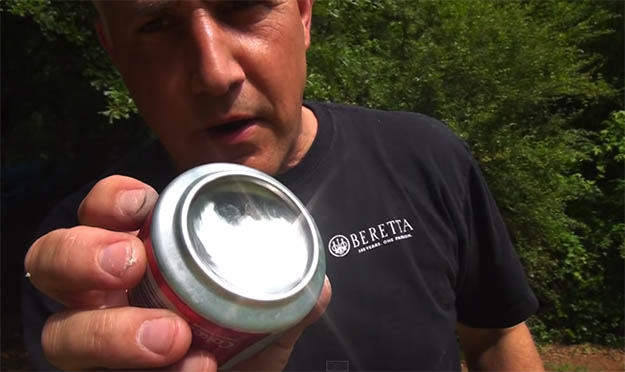
Take a can and cut the bottom off. You an use the shiny aluminum underside of the can as an emergency signal mirror.
In addition, the shiny reflector can also be used to start a fire – by focusing the sun’s rays on a specific area of tinder until it heats enough to spark a flame.

Image: Survival Life
The video below shows you how to each of these things step-by-step [H/T DIY Now!]:
As always, take some time to practice these skills. Additional gear might include a small ruler (for more precision), a marker, and small scissors.
Bugout.news is part of the USA Features Media network of sites.

